Engage includes options for adding two different types of account. User accounts are for people who will be using Engage to perform tasks.
External accounts are used to add details of people who won't need Engage access but need to be updated of task status, e.g. informed when campaigns are run.
Adding a user account
As teams change, it will be necessary to add new users for your Engage service or change the permissions of existing users. You can find these options under tools --> security --> user accounts.
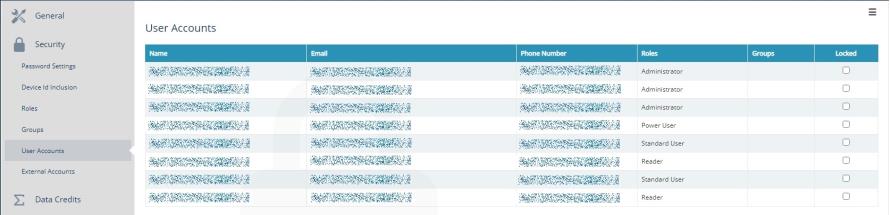
-
Expand the hamburger menu in the top right corner of the user accounts pane and click the add button (+ icon).
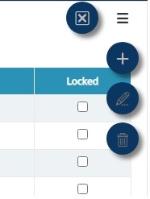
-
On the configure user account popup window, enter the user's name and email.
-
If the user is using SMS verification as part of two-factor authentication, add a phone number to receive SMS.
-
Assign a security role for the user.
-
If required, add the user to a group.
-
Click OK to add the user.
Editing a user account
-
In the table of users, click the account to be edited. The text in the table will turn bold to indicate the account has been selected.
-
Expand the hamburger menu in the top right corner of the user accounts pane and click the edit button (pencil icon).
Note: If the edit button is grayed out, the account has not been correctly selected.
-
Change the required fields and click OK to save changes.
Adding an external account
Adding external accounts allows you to send notifications to non-users who need to be informed of task status when configuring which accounts receive notifications via email or SMS.
-
Expand the hamburger menu in the top right corner of the user accounts pane and click the add button (+ icon).
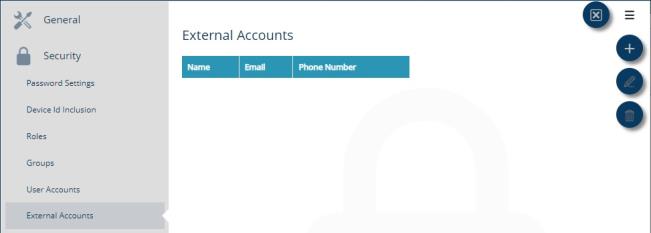
-
On the configure external account popup window, enter the person's name and email.
-
If the person is to receive SMS notifications, add a phone number.
-
Click OK. The account will now show in the table of external accounts and be available when configuring notification settings.
Editing an external account
-
In the table of accounts, click the account to be edited. The text in the table will turn bold to indicate the account has been selected.
-
Expand the hamburger menu in the top right corner of the external accounts pane and click the edit button (pencil icon).
Note: If the edit button is grayed out, the account has not been correctly selected.
-
Change the required fields and click OK to save changes.